
Figuring out how to get into bow hunting may feel overwhelming at first, but once I break down the foundational aspects of it, you’ll realize it’s really not hard to get started.
For sake of brevity, I’m going to assume you’re hunting deer, but the steps I’m going to lay out will work for bow hunting any species.
How To Get Into Bowhunting – The 5-Step Process
Learn The Basics Of Bow Hunting
The first step in learning how to get into bow hunting is forgetting 90% of everything you ever learned about hunting because that knowledge was mostly for rifle hunting.
Bow Hunting vs. Rifle Hunting

Bow hunting and rifle hunting are two very different things.
With rifle hunting, you typically hunt where you can see great distances in multiple directions, such as a field edge or an open ridge overlooking a wide open river bottom.
The reason being because you can shoot hundreds of yards, so you want to maximize your line-of-sight to ensure higher odds of success.
When bow hunting, you normally take the opposite approach, hunting back in the woods where you may only have one or two lanes to shoot through at a distance of 25 yards or so.
Big difference. So, the areas you’re going to scout for bow hunting are typically going to be very different than your gun-wielding counterparts.
The Wind Rules Your Hunt
When rifle hunting, you may think you have to worry about the wind, but when you begin bow hunting, you’ll quickly realize that your whole hunt will revolve around it.
Keeping talcum powder, such as Dead Down Wind’s Wind Detector, or some milk weed on hand is a must for keeping track of wind direction while afield.
Some apps can give wind direction, but because terrain has such an effect, you need to check it yourself once you’re in the field.
Like I said before, rifle hunting happens at long distances, so you’ll typically be far from the deer you’re shooting.
So, there’s ample space and time for your wind to disperse, even if it turns and blows in their direction.
When bow hunting, however, you’re so close to the deer that you can’t afford for your wind to blow in their direction at all.
I’m speaking from experience here. If you don’t want your first bow hunting season to be one big exercise in trying to see the silver lining, play the wind on every hunt.
And that includes thermals.
Thermals Can Be Your Best Friend Or Worst Enemy

If you’re not familiar with thermals, pay close attention here because it’s super important for a bow hunter.
Thermals, simply put, is the principle behind the way that air tends to rise or fall with the increase or decrease in temperature.
In hunting terms, the air – and our scent – rises as the temperature increases and falls as it decreases.
But don’t think of it necessarily as going straight up or straight down. Think of it more in terms of rising up ridges and hills and falling down into bottoms and valleys.
So how does it work?
In the morning, as the Sun is rising and heating up the Earth, thermals begin pulling air up uneven terrain.
And in the evenings, when temperatures start dropping, where does cooler air go? That’s right – down. Down toward the bottoms.
And temperatures don’t have to be cold to fall. They just have to be getting cooler, so thermals are at play just as much during the late Summer months as during the Winter.
So, as a bow hunter, you have to take into account the terrain and how the air moves through it, because thermals can and do override the prevailing wind direction. Not always, but often.
High winds can stop thermals from enforcing their will on the air, but calmer winds often have to just go along for the thermal ride.
Let’s look at a real-world example to try and give you a better understanding.
A real-world example involving thermals
Here’s one example that will help you on your way to thinking about how deer use terrain based on thermals.
Let’s say the prevailing wind is out of the West and you’ve got deer traveling along the East-facing side of a ridge.
Based on the wind alone, you’d want to hunt toward the bottom side of that ridge so the deer are above you and the wind hits them before hitting you.
However, based on what you now know, in the mornings, the thermals are going to pull the air up the ridge toward the top where the Westward wind is blowing over.
So, the deer traveling that side will smell scent blowing over from the west and rising up from the East, leaving you with little hope of a successful morning hunt.
In this situation, hunting the bottom of the ridge in the evening would be your best bet, as the wind and thermals would be blowing down toward you.
As long as your tree was further down the ridge than the traveling deer, you wouldn’t get busted.
If that example was a little over your head, don’t worry. It takes a little time and a lot of experience to fully grasp the concept.
Reduce Pressure

Bowhunting equals pressure.
Now, there may be some who would disagree with that statement, feeling that they have built a property or a strategy that keeps their presence completely hidden from deer, but unless those hunters can teleport and control the wind, it’s nothing more than wishful thinking.
Deer are so in tune and connected with their environments, evading threats 24/7 and using their senses to avoid danger at all costs.
They can smell the ground scent you leave behind long after you’ve gone, and they hear every bipedal step you take.
Every stick that snaps as you walk in – they heard it. And they adjust accordingly.
Studies by the MSU Deer Lab showed that deer alter their behavior in as little as just a few days after the season starts.
And the reason this matters more to bow hunters is because we have to get in so tight to their bedding, feeding grounds, and travel routes.
Because of this, sitting in the same tree 5 times in a row won’t get you the results you’re after. Your odds of success will drop with each sit.
So, think about pressure with every hunt, especially on public land. Cut down on your ground scent as best as you can, play the wind right, and know that your best chance of success at every location is on your first sit.
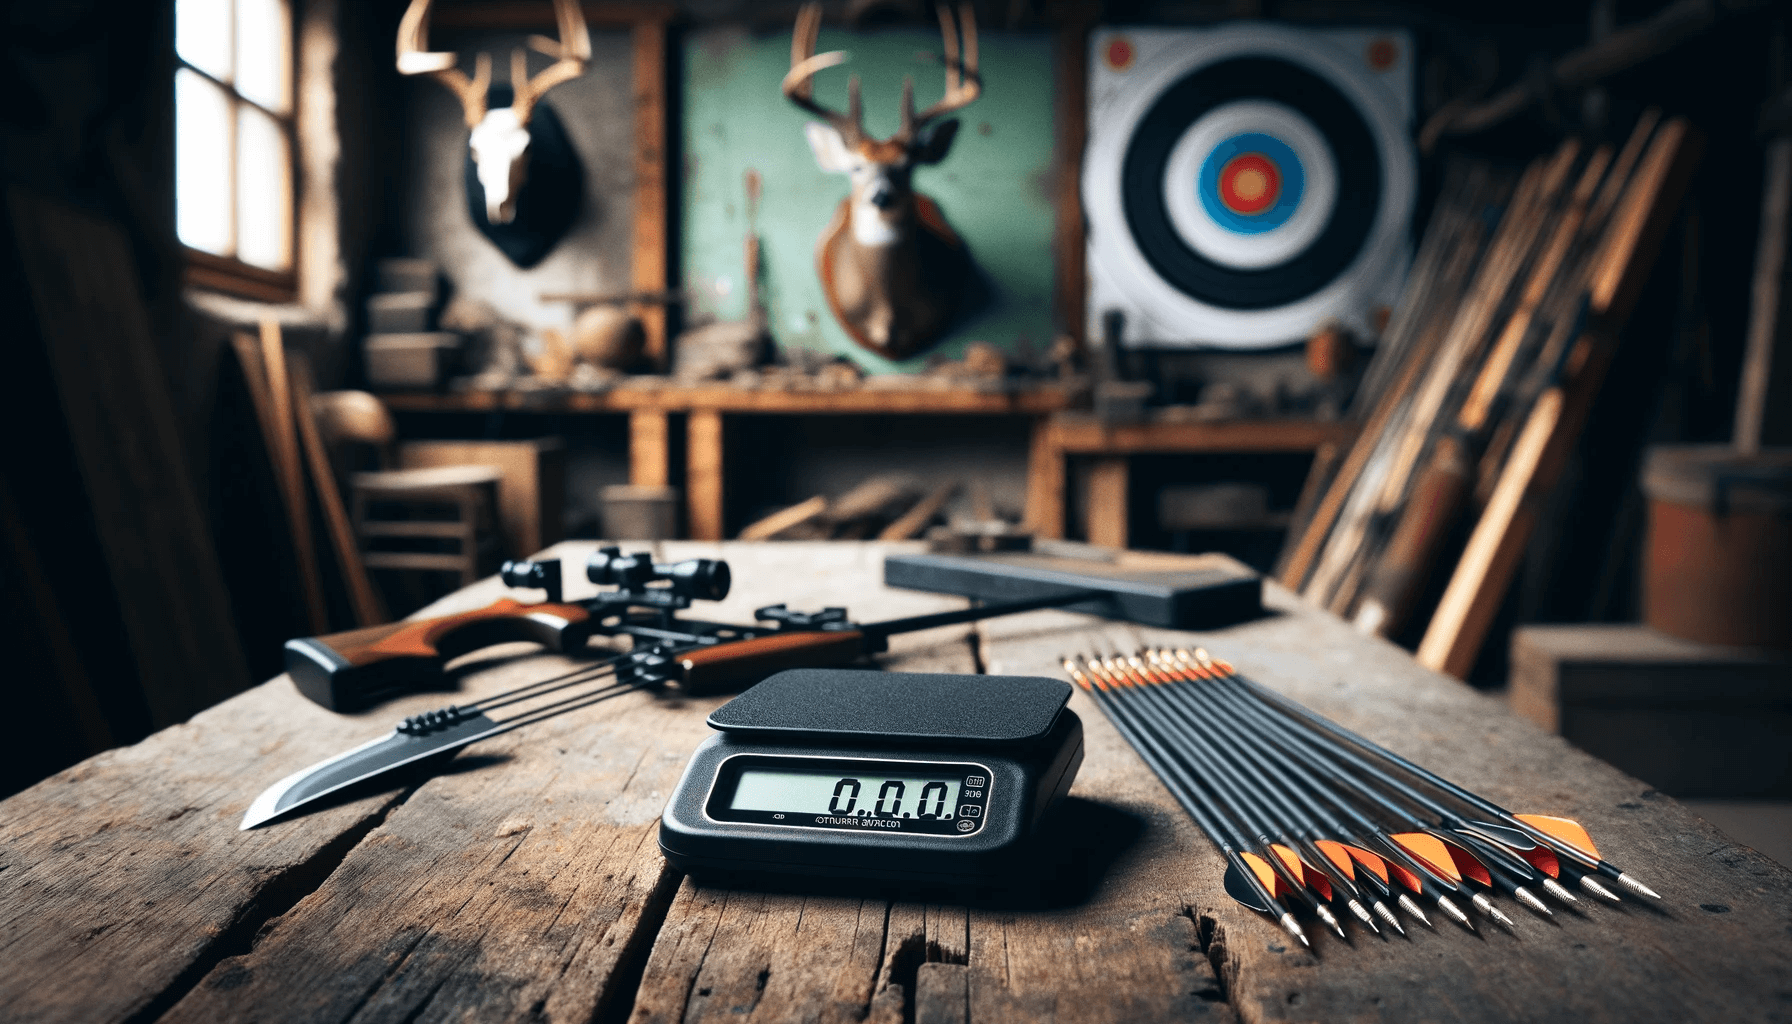
Get The Right Gear
Having the right gear, and gear that works well together, can make all the difference.
However, you don’t need everything advertised and you don’t have to break the bank to find success.
There are basics items that every bow hunter needs starting out that provide a solid foundation to build on.
The Bow

Kind of hard to bow hunt without a bow, I know. But you don’t have to spend $1,500 to be well-equipped.
When I first started out, I went looking for a mid-tier bow because I didn’t want to spend an absurd amount on my first, but I wanted it to be good quality and serve the purpose.
I was led to the Bear Paradox RTH (ready-to-hunt), and I’m still using it successfully at the time of this writing.
It was around $500 and as the name suggests, it came ready-to-hunt with all the accessories included and installed, such as the sight, peep sight, stabilizer, quiver, etc.
The only other items I had to purchase were a release, arrows, and broadheads.
I recommend doing the same and looking for a mid-tier bow – something from a quality manufacturer that is middle-of-the-road as far as pricing goes.
It’s not going to have all the bells and whistles, but you’ll be able to count on it.
If you’re interested, you can see my review of the Bear Paradox RTH here.
Release

The release is where most new bow hunters unknowingly set themselves back.
It’s not our fault. We just don’t know any better.
To help you avoid some of the pitfalls I fell into early on, let me just say it’s more important than you realize to take your time picking out a release.
They are not all the same. Not even close.
Most bow hunters start out with a wrist-strap style release and never try another style.
However, having personally seen the downsides of a wrist-strap release, and hearing so many other archers talk about their experiences, my recommendation is to start out with a handheld release.
They’re more expensive and take a little longer to get comfortable with, but you don’t run nearly as big a risk of getting target panic, and surprise shots are far easier to come by, which is what you want with every shot.
Either way, take your time, do your research, and if you need to, go to a local archery shop to shoot a few before buying.
And if you’re going to go with a wrist-strap release, just make sure you can easily and comfortably hook your whole finger around the trigger, all the way to the middle knuckle.
Having just the end of your finger on the trigger makes it way too easy to punch it, causing a lot of inconsistency.
If you’re in the market for a release, check out my top picks here. I included some wrist-straps for those who feel they need the simplicity or lower-cost option.
Arrows

For a beginner, you don’t need to be as picky as someone who has been fine-tuning their equipment and shot process for a while.
A hunting arrow from a reputable brand, such as Victory, Easton or Gold Tip, is all you need. And you don’t need their latest and greatest, or even their straightest.
I shoot Victory VForce arrows. They come in three straightness tolerances – .006 (Sport), .003 (Gamer), and .001 (Elite).
I started out with the Sports because as a new archer, my groups weren’t going to be tight enough to notice a difference between a tolerance of .006″ and a tolerance of .003″.
And I killed many animals with them during my first year.
As I worked on my shot process and became more accurate, I moved up to the straighter and more expensive Gamers.
Did my groups get much tighter after the move? Not enough to notice.
All that to say, working on the fundamentals of archery, as we’ll discuss below, will play a much larger role in your success than an expensive arrow.
All you need is a box of fletched arrows of the correct spine (stiffness), with inserts glued in and topped off with field points.
Spine is calculated based on your draw weight, length of arrow, and weight of the shaft, broadhead, insert/outsert, nock, and vanes.
Most arrow manufactures will have a spine chart on their website, or you can have an archery shop tell you what spine you need based on your setup.
Broadheads
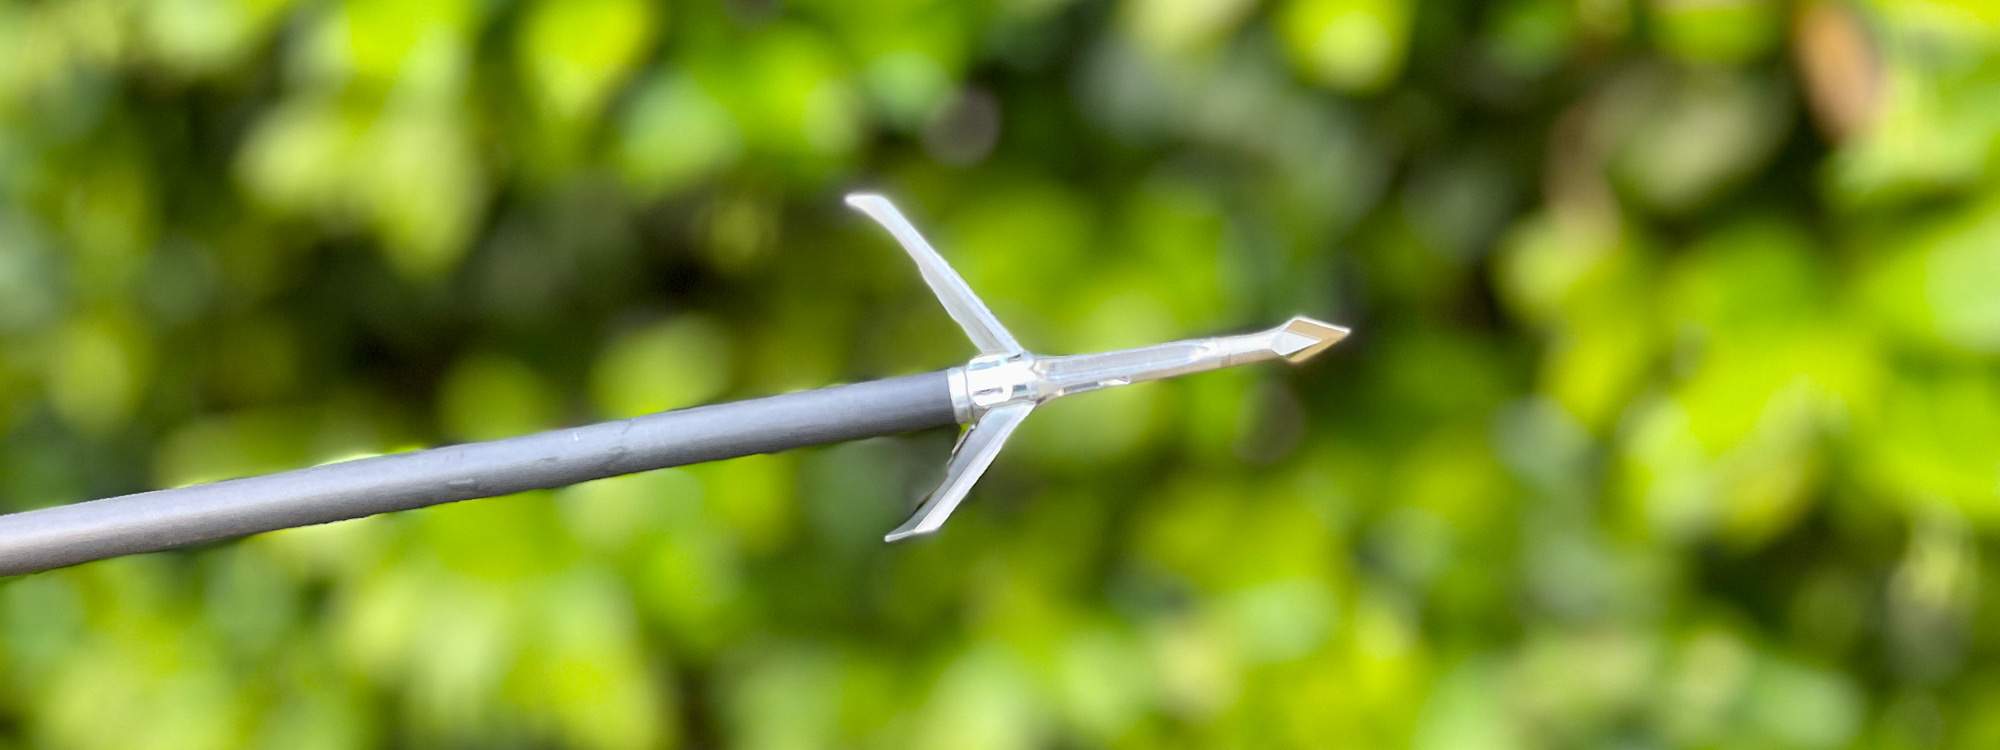
As you get more plugged in to the bow hunting community, you’ll become witness to the great debate – mechanicals vs fixed blade.
I’m going to save you some time here and tell you that as a new bow hunter, mechanicals are going to be your best bet because not only do they work extremely well, but they’re more forgiving than fixed blades.
Fixed blades are good too, but they don’t usually fly as true to field points as mechanicals.
New bow hunters need as little to worry about as possible when first starting out.
Mechanicals are wicked and fly extremely well. Just wait for a good shot – preferably a broadside shot – put it right behind the shoulder and let it rip.
I’ve witnessed many times the carnage of a well-placed mechanical broadhead.
My number one choice is the Grim Reaper Razorcut Whitetail Special. They offer a 2″ cut and I’ve been successful using them on both deer and turkey.
The Essentials

There are so many other things that can be added to this list, but those are really the essentials to get you going – the bow, release, arrows, and broadheads.
If you won’t be practicing at an archery range, you’ll need a target for your backyard. I’d suggest the Black Hole 22.
All sides can be shot with field points, and your practice broadheads can be shot into the front.
If you’re coming from rifle hunting, you likely already have the camo, rubber hunting boots, stand or saddle, rangefinder, and all the miscellaneous gear that normally fills our packs, so we’ll move along.
If, however, you’re just getting started hunting and need a more extensive list of needed items, feel free to connect through my Contact page or on Instagram or Facebook @southeasternbowhunting.
Learn The Fundamentals Of Archery
The actual archery aspect of it all is one of the most important pieces when learning how to get into bow hunting.
Getting an animal in front of you is only half the battle. You still have to execute a controlled, surprise release.
And even with a good foundation and a lot of practice, that can be quite the challenge, especially with buck fever.
I’m no archery expert, but I’ve learned a great deal from those who are – John Dudley, Chris Bee, Levi Morgan.
They all have taken their gifts for teaching and archery expertise and built channels around them. YouTube should become your best friend when it comes to becoming a more well-rounded archer.
Start with John Dudley’s page and go from there. He’s full of wisdom and has the experience to back it up.
The one thing I know for certain is that no matter what style release you shoot, you need to execute a shot process, ending with a surprise release every time.
Notice I said process. You’re not just pulling a trigger. You’re drawing, anchoring in the same place every time, splashing your pin on the target, letting your pin float back and forth, always coming back to the bullseye.
Then, slowly pulling, pulling, pulling through the shot until it finally breaks and you send your arrow into the target.
It takes time to create a consistent process. It takes practice. But with the right foundation, you can get there quickly, and harvest an animal in the most thrilling way possible.
Find Land

This is probably the largest barrier for most people looking to get into any kind of hunting, but it is actually the easiest to overcome.
Private Land
Most people don’t have access to private land that they can hunt. If you do, you’re well ahead of the game.
If it’s your own land, you’ll likely have it all to yourself and won’t be battling pressure from other hunters, so your odds of success will start out higher than if you’re sharing a parcel with other hunters.
Hunting unpressured animals affords much higher odds of success. If you don’t have access to private land, but would like to, you have options.
Friends or family who have land might be willing to allow you to bow hunt their properties. It never hurts to ask.
You can also ride around asking land owners for permission to hunt their farms/tracts of land.
Leases are also available for those with the budget for it. Leases typically are not super expensive, so it’s an affordable alternative for those who aren’t in a place to purchase a hunting property, but who want control over the land and pressure.
There are plenty of websites dedicated to hunting leases. A simple Google search should get you on your way.
Public Land
If you don’t have access to private land, don’t feel discouraged. It’s quite easy to find public land with lots of access. Your state’s DNR website should be able to point you in the right direction.
If you have any questions about access, rules, or restrictions, simply pick up the phone and call your local DNR agency.
Just explain to them that you’re a new public land hunter and you’re just looking for a few different areas to start out. They should be able to help you locate some parcels and their corresponding online maps.
It’s not difficult at all to locate some good spots. The real work comes through scouting them.
Scout Your Face Off

Scouting is where the rubber meets the road. You can have all the right gear and be an excellent archer, but if you don’t find the animals you’re pursuing, you’re basically just hiking.
For those who know what they’re looking for, it all starts with e-scouting. E-scouting is looking at aerial topographical maps for areas that should hold the animals you’re looking for.
OnX is my favorite scouting app and has amazing features. Their free version is all you need when starting out.
For around $30, though, you can have property lines visible on both public and private lands, which can be invaluable while scouting.
After marking promising locations on OnX, it takes boots-on-the-ground scouting to either confirm what you thought or mark those spots off your list.
Using deer as an example, we know they need food, water, and a secure place to bed.
There are so many different ways to go about scouting for them that an entire book could be written on the subject alone.
However, we’re going to keep it simple, and start off with one of the easiest ways to find deer.
Our scouting is going to revolve around water and bedding. Like all animals, deer need water.
They also need secure bedding where predators have a hard time sneaking up on them. Oftentimes, those two things are combined.
So, we’re going to look on the map for oxbows. Oxbows are where creeks or rivers take a sharp turn, forming a j-hook before continuing on.
The land inside the j-hook, often with water on 3 sides is where we want to look for deer bedding.
There is plenty to eat right there in their bedroom, along with all the water they’ll need all day long. Also, the vegetation tends to grow tall from all the moisture and nutrients in the surrounding soil, offering great cover.
And being almost surrounded by water, there’s typically only one direction for a predator to approach, giving the deer a tactical advantage for seeing, smelling, and hearing the threat, then retreating through the water.
Also, near oxbows, you’ll often find creek crossings where the bank on one or both sides has a very gradual slope. Deer like to use areas like this for crossing, as it requires less effort.
They also like using any areas that are much shallower, such as sand barges, where they can quietly drink water and again, cross without too much effort.
Noticing a trend? Deer are a lot like us – they’re lazy and prefer the easiest route possible.
Sand barges and gradual bank slopes are great places to look for tracks. Find a crossing with a large amount tracks, and you know there are deer nearby.
There are so many other terrain types to scout, but while first starting out, it will benefit you greatly to stick with one and find success before moving on to another.
To dive deeper into scouting, feel free to connect through my Contact page or on Instagram or Facebook @southeasternbowhunting.
Wrapping Up
There are so many paths you can take in bow hunting, from sitting in a preset stand location on private land, to spot-and-stalk hunting on public land.
However, no matter the species you’re planning to hunt, the preceding content is a good jumping off point when learning how to get into bow hunting.
To go further into detail or for any questions that may not have been answered here, feel free to reach out by any means already discussed, and good luck!