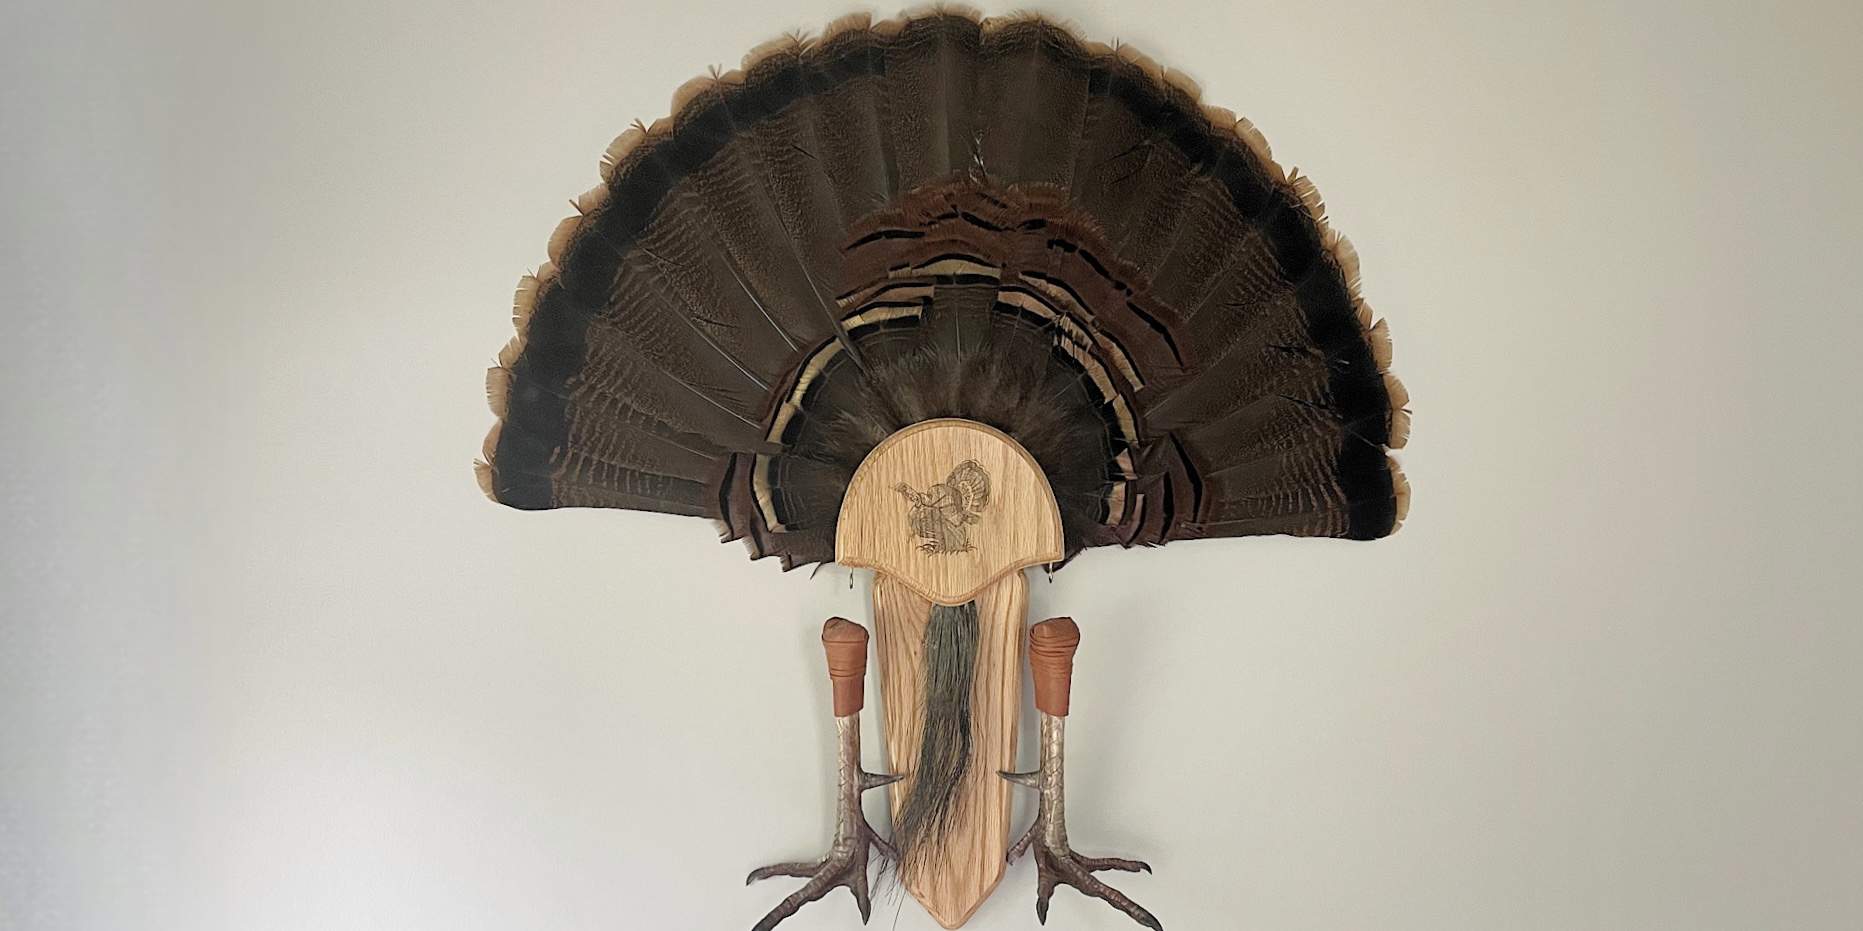


Making One Is The Easy Part
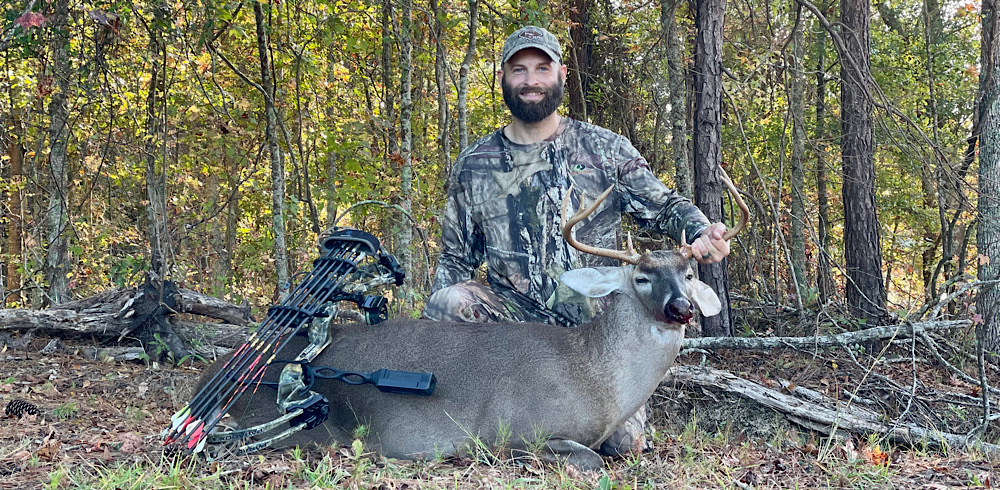
Making a wingbone turkey call isn’t a very hard task. It’s getting the bones in the first place that takes a lot of work. Unless, of course, you’re just going to order them online. But where would the fun be in that? Harvesting the bird that will soon contribute it’s wings to your call will add an unquantifiable value to it once completed. And the memories will be with you in physical form for as long as you own the call. However, if you’re going the online order route, that’s ok. You’ve still come to the right place.
What You’ll Need To Make A Wingbone Call

You’ll need the three main bones from a wing. The radius, which is the smallest in diameter, will be the mouth piece. The ulna is larger and will rest in the middle, and the humerus, which is the largest, will cap off the other end. Aside from the bones, you’ll need the following items on-hand:
- Dremel tool with cutting disc, sanding attachment, and cutting bit
- Sand paper (80-220 grit)
- Loctite Ultra Gel Control
- JB Weld WaterWeld
- Lace/Cord/Wrap of your choosing (I use lace from Hobby Lobby)
Now that you’ve gathered all the necessary supplies, let’s get started.
Step 1: Clean And Cut The Bones

After carefully removing the bones from the wing, use a knife to scrape as much tissue from the bones as you can. Don’t worry if you can’t get it all off. The rest will come off in the next step. Once they’re pretty clean, go ahead and cut the ends off the bones. I like my bones to each be around 2.75-3 inches long. With the humerus (the largest bone), cut only the very end off one side and measure 3.25 inches from there for the next cut. That way, if you want to trim a little off the end to get the look that you like, you’ll have plenty to work with. Hope that makes sense.
Step 2: Simmer, Scrape, And Whiten

Once you have the bones around 3″ long and pretty clean, you’ll want to get a pot simmering. It would be best to do this part outside if you have the means, such as with a pot and propane burner. And you’ll only need just enough water for the bones to be fully submerged. Get it right up to boiling and back the heat off just a bit. Then add some dish soap and Oxi Clean powder (yes, the washing detergent stuff). Careful not to have too much water or Oxi Clean because if you add too much Oxi Clean to a large amount of boiling water, it will boil over and make a huge mess. Don’t ask me how I know. Just start adding small amounts of Oxi Clean until it forms a thin, foamy layer on top of the water, then stop. Add a good 2-second squirt of dish soap, drop the bones in, and let it simmer for around 10-15 minutes. Then, grab some tongs or a stick and pull the bones out.
You’ll notice there is marrow inside the two smaller bones. Once they’ve soaked long enough, you’ll be able to wrap your hand around one end of the bone, put your mouth over the hole made by your index finger and thumb, and blow the marrow right out the other end into a trash can. I do not recommend putting your mouth directly on the bone to do this. After blowing out the marrow, try to scrape the rest of the tissue off the outside of the bones. If they won’t come clean yet, put the bones back in the mixture. Repeat until you can remove it all. If you get to the point to where there’s just a very small amount left that won’t scrape with a knife, remove it with sand paper and elbow grease. You’ll find the large bone is filled with a hardened honeycomb material. You’ll need to put a cutting bit or drill attachment on your Dremel tool and carefully drill it all out smoothly against the inner wall of the bone.
Once the bones are clean and smooth, inside and out, take a water bottle, cut the top off where it begins to taper toward the cap, and drop the bones in. Add hydrogen peroxide until the bones are completely submerged. Let them sit for 24 hours to whiten. Don’t be concerned if they still have a yellowish tint to them after 24 hours. They’ll whiten up a bit more after they dry.
Step 3: Form The Bones

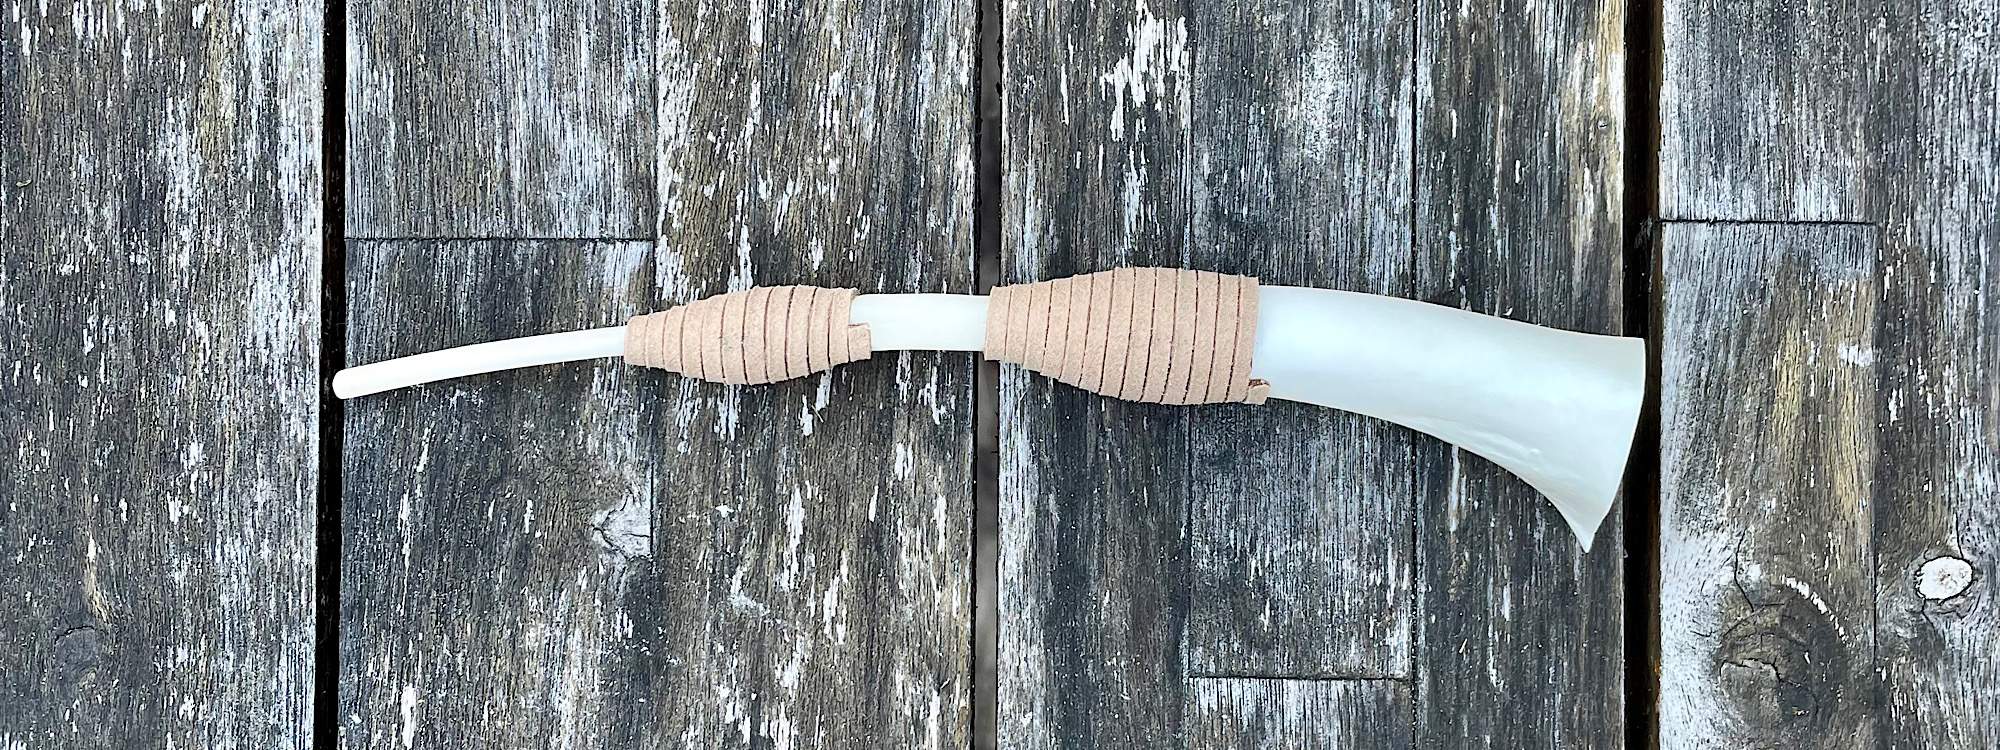
Now is the time when you’ll shape the bones for the final product. Get ready to take your time here. First, see if the middle bone will fit inside the large bone. Usually, it won’t. You have two options to make them fit, and sometimes you have to do both, and both involve a Dremel tool. You can use a cutting bit/drill attachment to shave out the inside of the larger bone or you can use a sanding attachment to shave down the outside of the smaller bone. To keep from taking too much off of either bone, it’s a good idea to take a little off of each. Just keep working each bone until you get them to fit together just right. Once you have the middle bone and largest bone fitted, take the smallest bone and try to insert it into the middle bone. Normally, it will fit. However, the curvature of each bone may not match up, so a little more shaving may be in order to get them just right. Once you get all three bones fitted, with the curve that you like best, it’s time to move on to the next step.
Step 4: Glue And JB Weld The Bones

With the bones fitted together, pull one joint apart, add a small amount of Loctite Ultra Gel, and replace the bone, holding it in place until the glue dries enough to hold them together. Repeat with the other joint. Your wingbone turkey call should now be taking shape. Let the call sit for 10 minutes or so to allow the glue to set up. Then, take about a quarter to a half inch of JB Weld and mix it between your fingers until it becomes one color. Once this happens, start to wrap it around one of the joints. Overlap the bones by about a quarter of an inch, and try to taper down to each bone as much as possible. JB Weld can be pretty sticky on dry skin, so wetting your fingers while working it in is extremely helpful in creating smooth joints. After applying JB Weld to both joints, lay or lean the call in a way that keeps the JB Weld from touching anything. Leave it for at least one hour, then move on to the next step.
Step 5: Sand The Joints

You’re now on the home stretch. Now that the joints have hardened, it’s time to create a seamless transition from bone to bone. First, you’ll use a sanding attachment on your Dremel tool to get the joints extremely close to where they need to be. When you’re through, the JB Weld should gradually rise from one bone and gradually descend on to the other. Once you get to that point, take some 80-220 grit sandpaper and get the joint even more smooth and gradual. Any unevenness will show in the final wrap as a noticeable step from one strand to the next. Once you’re happy with both joints, get out your lace/wrap of choice and move on to the final step.
Optional Step:
If you’d like to add any artwork, now is the time. A bare call looks great by itself, but drawn pictures with a clear coat can take it to the next level for those with artistic ability. It’s personal preference, but you’ll want to add any artwork now before proceeding to the wrap job.
Step 6: Wrap The Joints

Make sure to have plenty of Loctite Ultra Gel and lace on hand before beginning to wrap. If you’re unsure if you have enough lace to complete a joint, simply make a practice run and wrap the joint without gluing. When you’re ready to begin gluing it on, take the end of the lace and simply touch it to the glue without dabbing a solid drip on the lace. Just a touch will allow it to adhere without the risk of excess bleeding to the top, creating a visible color difference (a wet look). What I like to do is start and end the lace on the bottom of the call. It just gives it a more thought-out look. Every three or four wraps, I’ll add another small amount of glue, alternating from the top of the call to the bottom. Once all of the JB Weld has been covered, cut the lace and carefully add the last dab of glue. After wrapping both joints, it’s time to sit back and look proudly upon your work. Congratulations – you just made a wingbone turkey call!